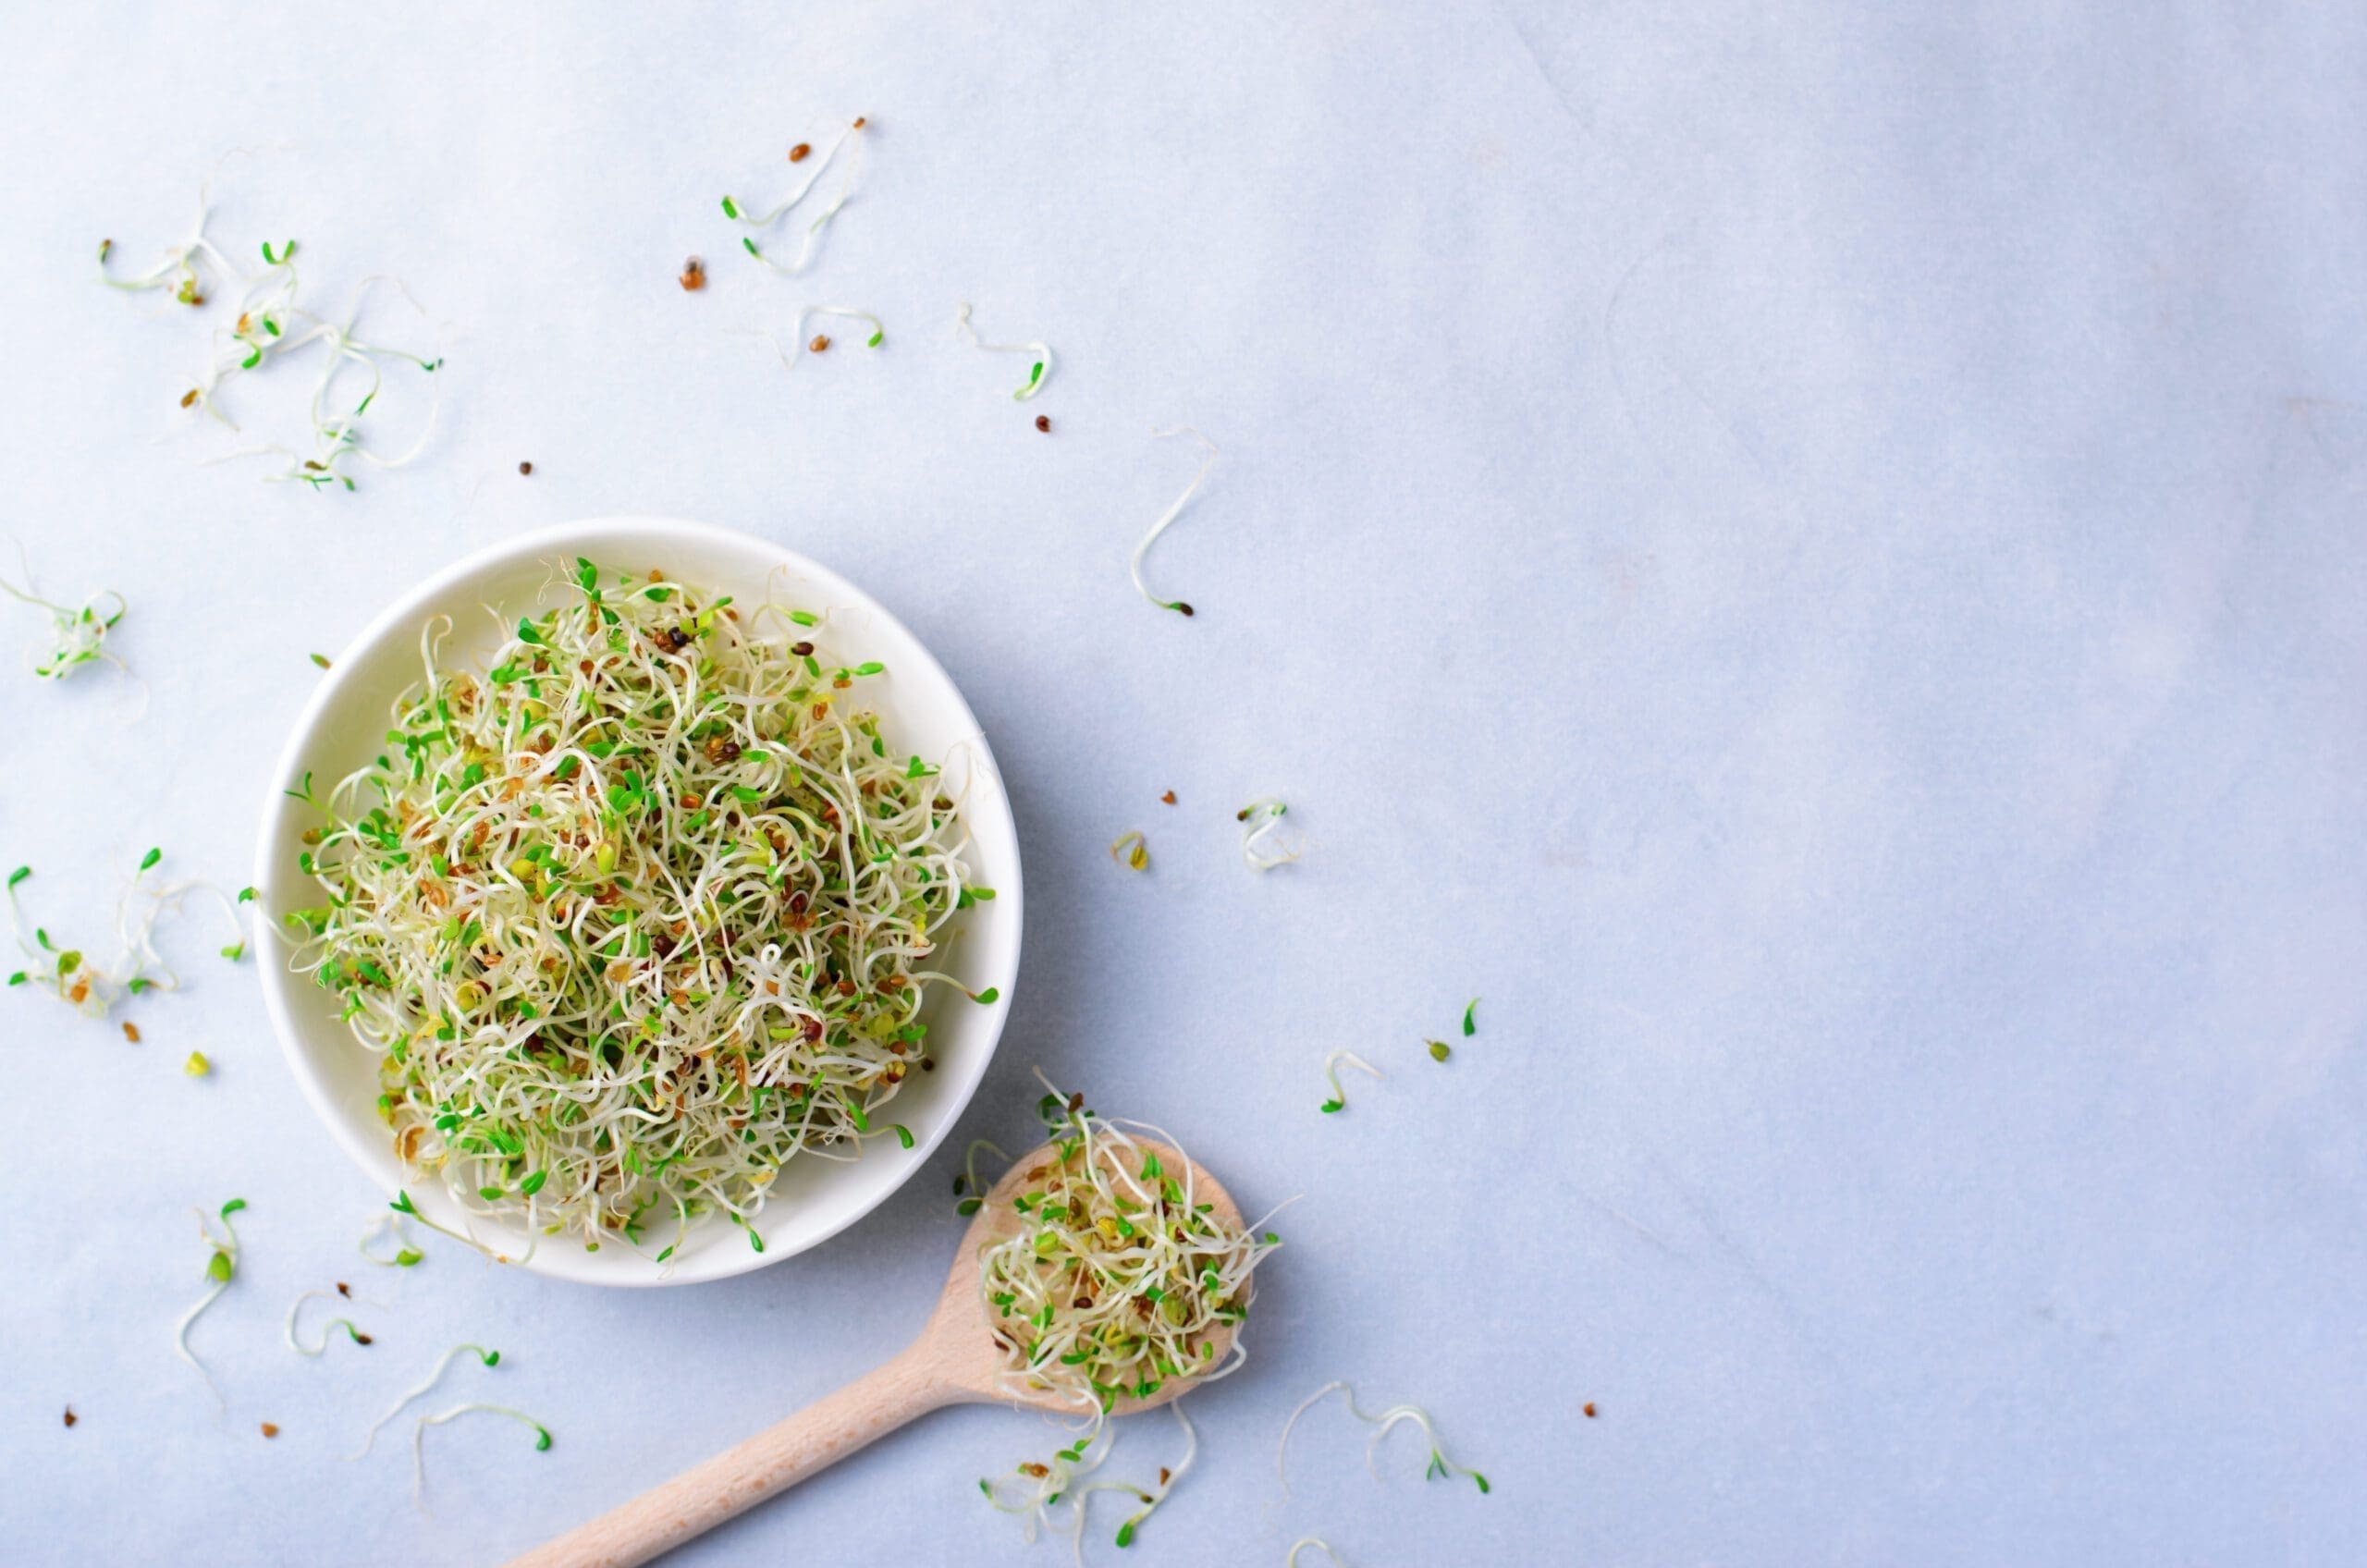
Sprouting alfalfa seeds at home is simple, but like all raw foods, it requires good hygiene to keep things safe. Because sprouts grow in warm, moist conditions, it’s important to follow a few key steps to avoid mould, bacteria, and spoilage. In this guide, you’ll learn how to grow alfalfa sprouts safely from start to finish.
Why Sprout Safety Matters
Sprouts are incredibly healthy, but if not handled correctly, they can become a breeding ground for bacteria. Moisture, warmth, and darkness—the very things that help sprouts grow—can also support the growth of unwanted pathogens like E. coli or Salmonella if seeds are contaminated or equipment isn’t clean.
That’s why following safe sprouting practices is essential, especially when eating sprouts raw.
1. Use Seeds Certified for Sprouting
Only use alfalfa seeds that are labelled “certified for sprouting”. These have been tested for common foodborne pathogens and packed in clean, food-safe conditions.
Avoid using seeds sold for the garden, agriculture, or fodder. They may contain dust, soil, or chemical treatments that are not safe to eat.
👉 Learn more: How to Choose the Best Alfalfa Seeds for Sprouting
2. Clean All Sprouting Equipment
Before starting, wash your hands thoroughly with soap and water. Sterilise your jar, lid, and any utensils using one of these methods:
- Boiling: Place jar and lid in boiling water for 5 minutes
- Hot soapy water: Scrub all surfaces, rinse well, and air dry
- Vinegar solution: Rinse with a 1:3 mix of white vinegar and water
Repeat cleaning between each batch to prevent mould and bacterial buildup.
3. Rinse and Drain Properly
Rinse your alfalfa seeds at least twice per day with cool, clean water. Always drain the jar thoroughly to prevent stagnant water, which can cause spoilage or mould.
Tips for safe rinsing:
- Use a fine mesh lid or cheesecloth secured with a rubber band
- Invert the jar at a 45° angle in a bowl or stand to let it drain completely
- Shake gently after each rinse to remove excess moisture
Excess water is the most common cause of mould and sour smells in sprouts. Airflow and drainage are key.
4. Use Clean Water
Sprouts absorb a lot of water, so make sure it’s clean and safe to drink. If your tap water is heavily chlorinated or questionable, consider using filtered, boiled (then cooled), or bottled water for rinsing.
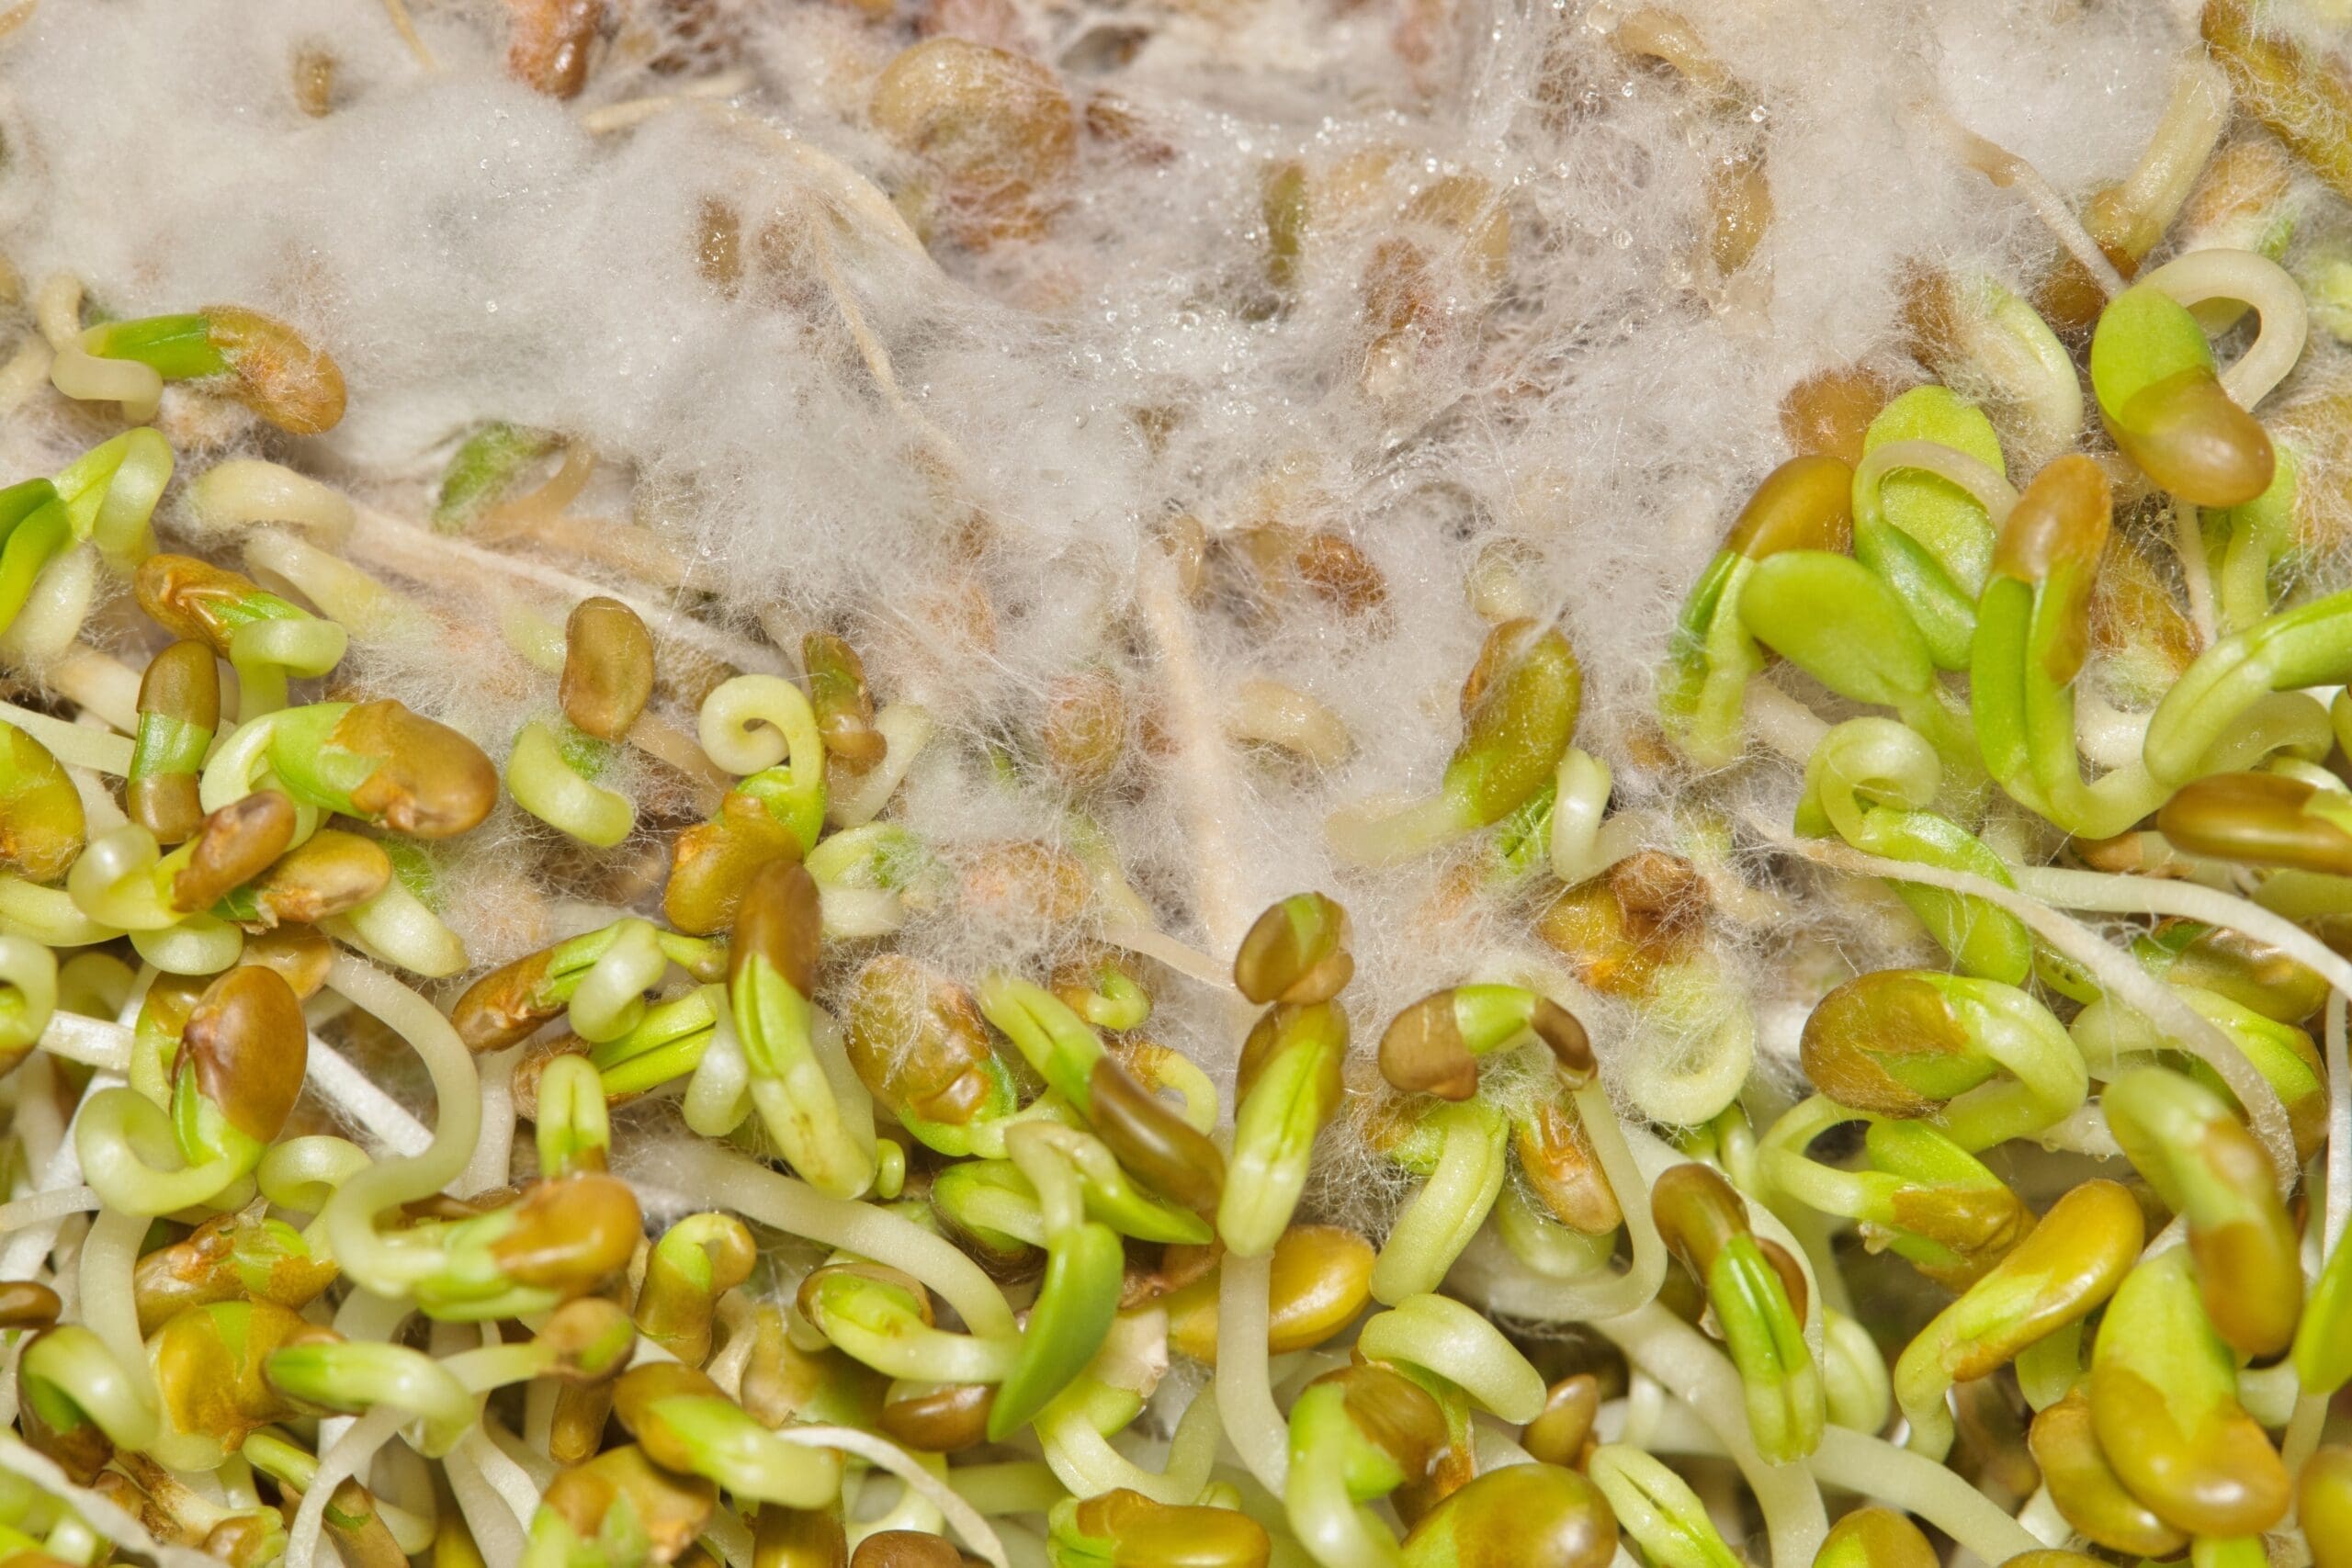
5. Watch for Signs of Mould or Spoilage
Healthy alfalfa sprouts should:
- Smell fresh and earthy
- Be pale to bright green with white roots
- Feel crisp, not slimy or mushy
Discard your sprouts if you notice:
- Unpleasant, sour, or rotten smell
- Fuzzy white or grey mould growing on seeds
- Sticky texture or signs of rot
If in doubt, throw it out. Then clean your jar and start again with a fresh batch.
6. Store Sprouts Correctly After Harvest
Once your alfalfa sprouts are ready (typically Day 5–6), rinse them well and remove seed hulls if desired. Drain thoroughly and pat dry with a clean cloth or paper towel.
Storage tips:
- Place sprouts in an airtight container with a paper towel to absorb moisture
- Keep in the fridge (ideally 1–4°C)
- Use within 5–7 days for best quality
👉 For full harvest steps, see: How to Harvest and Store Alfalfa Sprouts
Bonus: Extra Safety Tips
- Don’t sprout more than you can eat in 5–7 days
- If storing in the fridge, don’t wash sprouts again until just before eating
- Use smaller jars and batches to keep things manageable
- Don’t eat raw sprouts if you’re immunocompromised, pregnant, or very young without medical advice
Safe, Simple, and Fresh Every Time
With just a few precautions, sprouting alfalfa at home is safe, affordable, and rewarding. Clean tools, fresh water, and daily rinsing are all you need to grow delicious sprouts you can trust.
Start your next batch today with our step-by-step sprouting guide, or browse our collection of certified sprouting seeds.