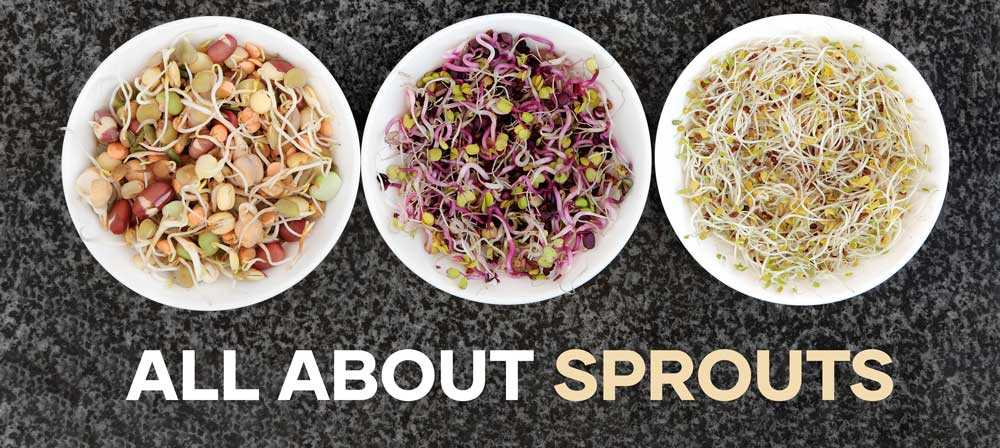
Sprouts are tiny plants that grow from seeds. They’re crunchy, fresh, and full of nutrients. In this post, you will learn how you can grow your own healthy sprouts at home. Whether you’re new to gardening or an experienced grower, sprouting is a fun and easy way to get fresh greens in just a few days.
What are Sprouts?
Sprouts are young shoots that grow when a seed begins to germinate. They are the first stage of a plant’s life and can be eaten raw. They don’t need soil or sunlight to grow—just water, air, and a little time. Sprouts are usually ready to eat within 3 to 7 days, depending on the seed type and growing method.
Because you eat the entire sprout—including the seed, root, and stem—they offer a full package of nutrients in one tiny bite. Sprouts are crunchy and mild in flavour, making them easy to add to many meals.
Why Sprout Seeds?
There are many great reasons to start sprouting at home:
- Nutrition: Sprouts are rich in vitamins, minerals, antioxidants, and enzymes that help your body digest food better.
- Freshness: You can grow them in your kitchen, so they’re always fresh and free from chemicals or preservatives.
- Easy to Grow: No garden? No worries! You just need a jar or tray and clean water.
- Cost-Effective: Sprouting is cheaper than buying packaged sprouts from the store.
- Good for All Ages: Sprouting is a fun activity for kids and adults alike.
What Can Be Sprouted?
 Many seeds can be used for sprouting. Some of the most popular sprouting seeds include:
- Broccoli: Mild in taste, packed with sulforaphane, a powerful antioxidant.
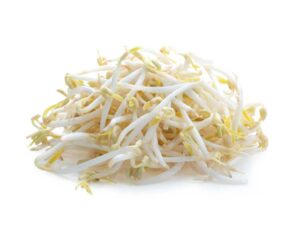
- Mung Beans: Crunchy and slightly nutty. Great in salads and stir-fries.
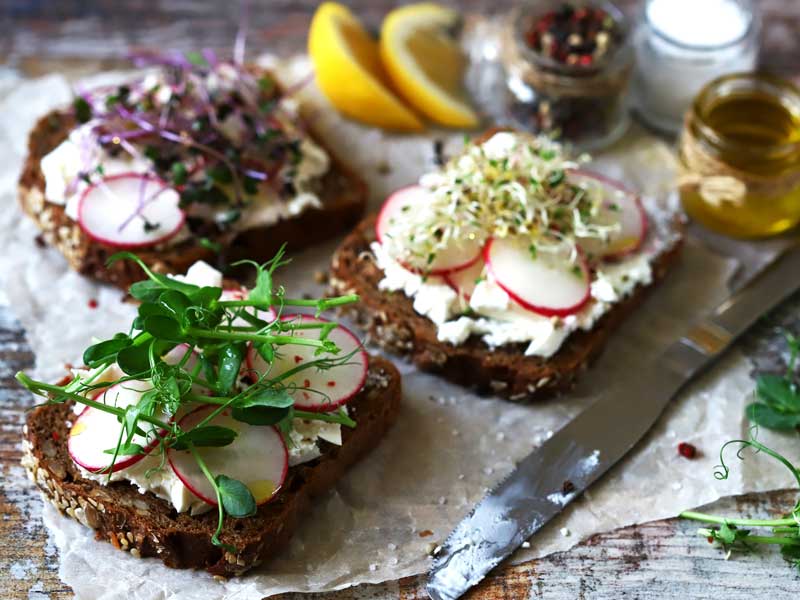
- Radish: Spicy, peppery flavour. Adds a kick to sandwiches and wraps.
- Alfalfa: Light and grassy, very popular in sandwiches.
- Lentils: Earthy and hearty. Good in salads and soups.
- Clover: Mild and nutritious, great for mixed sprout blends.
- Fenugreek: Strong flavour, known for supporting digestion.
Sprouts vs Microgreens: What’s the Difference?
Both sprouts and microgreens are young plants, but they grow differently and are eaten in different ways. Here’s a breakdown:
- Sprouts: Grown in water, harvested in 3–7 days. You eat the entire plant—seed, root, and shoot.
- Microgreens: Grown in soil or a growing medium. Harvested in 7–21 days. You only eat the stems and leaves, not the roots.
Sprouts grow faster and take up less space, while microgreens are usually more colourful and have more intense flavours. Both are great to include in your diet.
A Short History of Sprouts
Sprouts have been eaten by people for thousands of years. Ancient Chinese doctors used mung bean sprouts as medicine as far back as 3000 BCE. Sailors in the 1700s used sprouts to prevent scurvy on long sea journeys. In modern times, sprouts became popular in the 1960s and 70s as part of the natural food movement. Today, they are loved for being healthy, easy to grow, and delicious.
Popular Sprouts to Try
Broccoli Sprouts
These sprouts are famous for containing sulforaphane, which may help protect against disease. They have a light, peppery taste. Want to learn more? Click here to learn how to grow broccoli sprouts.
Mung Bean Sprouts
These grow fast and are super crunchy. Perfect for adding to stir-fries, noodle soup, curries, or fresh spring rolls. Mung beans are one of the easiest and most reliable seeds to sprout. The mung bean is native to the Indian subcontinent and widely used in Indian, Chinese, Thai and Korean cuisine.
Radish Sprouts
These spicy sprouts bring flavour and colour to any dish. They’re also full of vitamin C and are great for boosting your immune system. Radish sprouts taste just like mature radish, but only take 3 – 5 days to grow.
How to Grow Sprouts at Home
You can grow sprouts using a sprouting jar or a sprouting tray. Both work well and it depends on what you like better or how much space you have.
Using a Sprouting Jar
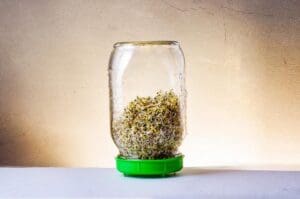 This method is great for beginners:
- Soak the seeds overnight (6–12 hours) in a clean jar.
- Drain the water and rinse the seeds well.
- Place the jar upside down at an angle to let water drain out.
- Rinse and drain the seeds twice a day.
- Sprouts are ready in 3 to 7 days, depending on the type.
Using a Sprouting Tray
Sprouting trays let you grow more at once. Good for larger seeds or if you want a bigger harvest.
- Spread soaked seeds evenly across the tray.
- Keep the tray moist by spraying water twice a day.
- Trays provide more airflow and help prevent clumping.
- Some trays have multiple levels so you can grow several types at once.
Which One is Better?
Sprouting jars are compact and easy to clean—great for small kitchens. Sprouting trays allow more airflow and are better if you’re sprouting large seeds or want more volume. Try both and see which one you like more!
Watch Out for Mould
Sometimes white fuzz appears on your sprouts. But don’t panic—it might not be mould! It could just be root hairs, which are normal. To learn the difference and keep your sprouts safe, read our detailed blog post here.
Tips for Successful Sprouting
- Use only untreated, non-GMO seeds designed for sprouting (like ours at Seedmart!).
- Make sure your equipment is clean before and during sprouting.
- Store finished sprouts in the fridge and eat within a few days.
- If they smell bad or feel slimy, throw them out.
- Always rinse seeds well to keep them fresh and safe.
Start Sprouting Today!
Sprouting is an easy and fun way to grow your own healthy food. You don’t need a garden, just a jar or tray and some seeds. Try growing broccoli, mung beans, or radish to begin with. At Seedmart.com.au, we sell high-quality, untreated, non-GMO sprouting seeds. Start your sprouting journey today and enjoy fresh greens all year round!