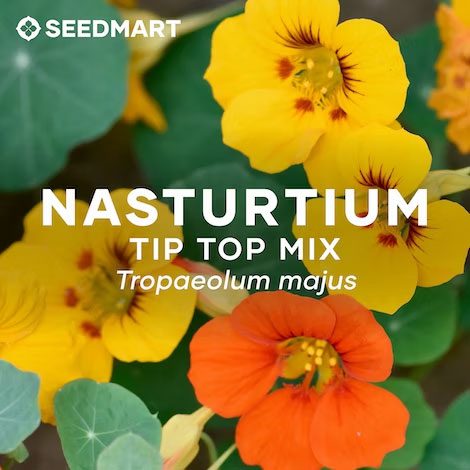
Nasturtium (Tropaeolum majus)
If you’re looking for an easy-to-grow, versatile, edible plant, you can’t go past nasturtium. They germinate easily, require little fuss and you can get away with growing them in poor soil; they will actually produce more flowers in poor soil.
Nasturtium is an ideal seed for beginners to grow and can also be grown in containers. They prefer a full sun position, but can tolerate some shade. Add a splash of colour to your garden. These stunning flowers come in a range of colours including red, yellow and orange.
Culinary Uses
 The seeds, leaves and flowers are all edible, making nasturtium versatile across a range of dishes. The flowers have a peppery taste, the leaves a little less so, and they are a reliable source of vitamin C.
Think well beyond garnishes with nasturtiums; you can mix the leaves into butter, pesto, soft cheese, add to sandwiches, or blend into risotto.
Try replacing grape leaves and make stuffed nasturtium leaves instead. And of course, for a pop of colour, add the flowers to salads, garnish soups and as a Pizza topper.
Nasturtium seeds when green are similar to capers. Simply pick, wash, then soak the green seeds in a vinegar filled glass jar. In a few days they will be ready to use in place of capers.
As a seasoning you can roast the dried seeds in an oven, grind them and use in place of pepper, or use the seeds whole as a substitute for pepper corns.
How to Grow Nasturtium from Seed
Growing guide: Nasturtium
Scientific name: Tropaeolum majus
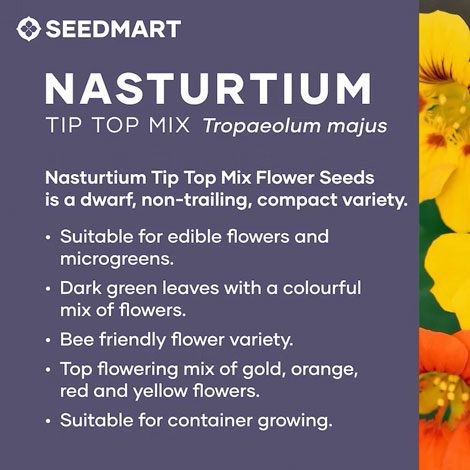
Varieties available: Tip Top Mix, Alaska Mix, Empress of India, Jewel Mix (to name a few).
Life Cycle: Annual
When to Sow Nasturtium Seeds
The table below will assist in choosing the most favourable time of year to sow nasturtium seeds in your region. Please note that nasturtium is a warm climate plant that does not tolerate frost or cold weather.
Preparation
Nasturtiums require at least three hours of full sun each day. Choose a location to suit. They also like a soil that has plenty of organic matter and is well drained. Add aged animal manure to your weeded and tilled soil. If you’re going to grow them in a container, ensure that the potting mix is good quality and be prepared to add liquid fertiliser during the growing stage for healthy growth.
Choose the right variety
Nasturtiums are either climbing (tropaeolum majus) or bushy/dwarf (tropaeolum minus). Dwarf varieties are suitable for growing in containers and hanging baskets, while climbing varieties will grow on fences and trellises. Climbing varieties can be invasive and the vine may grow up to 3 metres length.
Sowing
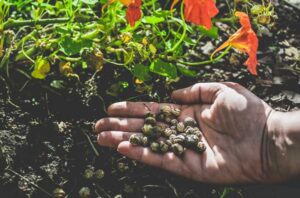 You have the choice of sowing directly into the ground or raising seedlings then transplanting them once they are large enough. Sowing into the ground is a good option for nasturtiums as they are self-seeding and hardy. If you don’t want your nasturtiums to self-seed, you must dead head the flowers before they become seed.
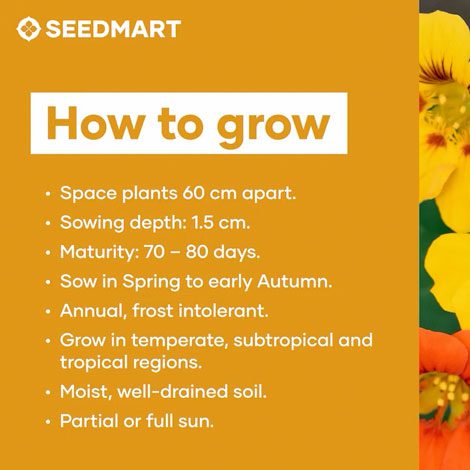
Sow seeds directly into the garden at 30cm apart and 15mm deep. The soil must remain moist without drying out or becoming too wet.
Nasturtium seeds will germinate within 7 to 14 days. Protect seedlings from pests and weather until established.
Growing
If your soil wasn’t well prepared, you may need a liquid fertiliser high in potassium to boost growth and encourage flowering.
Flowers will appear in roughly 70 to 80 days. Support their growing habit with a trellis and garden twine. Water early in the morning, but avoid over watering and avoid watering the leaves and flowers. Water around the base of the plant.
Remember to dead head the flowers with clean sharp secateurs to encourage more buds.
Save your Seed for Next Season
Nasturtium are often self-seeding in warmer climates, or you can easily save seeds and replant the next season. Towards the end of the season, harvest green nasturtium seeds that are plump and easy to remove from the vine. If they don’t loosen easily, leave them for a few more days to allow them to ripen. You can also save seeds that have fallen off the vine.


