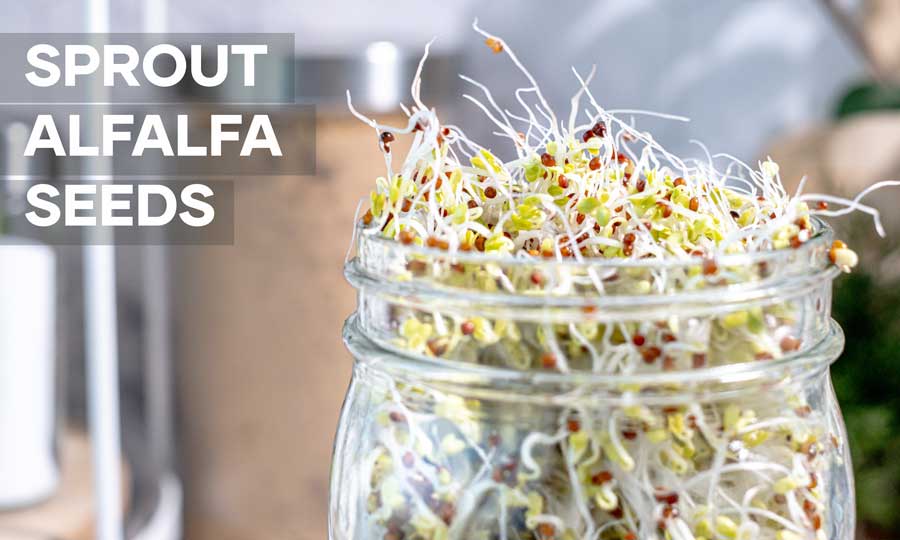
Sprouting alfalfa at home is quick and rewarding. In less than a week, you can grow fresh, crunchy sprouts without soil or sunlight. This day-by-day guide walks you through the entire process—from soaking to harvest—so you know exactly what to do each step of the way.
What You’ll Need
- 1 wide-mouth jar (500 mL to 1 L)
- 1 mesh sprouting lid or cheesecloth + rubber band
- 1–2 teaspoons of alfalfa sprouting seeds
- Cool, clean water
- Draining rack or bowl
Before starting, sterilise your jar and lid to reduce any risk of contamination.
Day 1: Soak the Seeds
Start your sprouting journey by placing 1 to 2 teaspoons of alfalfa seeds into your clean jar. Add about 250 mL (1 cup) of cool water and swirl gently.
- Soak for 6 to 8 hours or overnight
- Keep the jar out of direct sunlight during soaking
- Use a sprouting lid or cover with mesh/cheesecloth and a rubber band
After soaking, drain off all the water and rinse the seeds once with fresh water. Drain thoroughly again.
Day 2: First Signs of Sprouting
On the second day, you’ll begin to see tiny white roots emerge. These are the first signs of life.
- Rinse the seeds twice a day—morning and evening—with cool water
- Drain thoroughly after each rinse
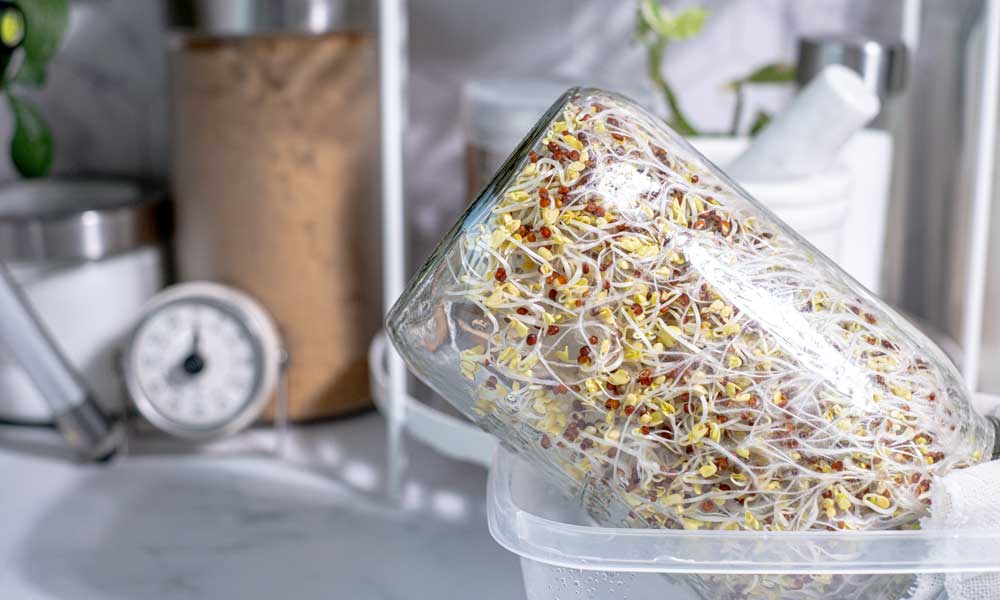
- Keep the jar tilted upside down at a 45° angle in a bowl or stand to encourage airflow
Avoid direct sunlight and ensure good drainage to prevent mould growth.
Day 3: Sprouts Begin to Fill the Jar
By day three, the sprouts will begin to elongate and tangle. You may see small leaves starting to form at the tips.
- Continue twice-daily rinsing and draining
- If clumping occurs, gently swirl the jar while rinsing to loosen the sprouts
Your sprouts are growing quickly now, and the jar will look fuller each day.
Day 4: Leaf Development
The sprouts are greener and leafier now. At this stage, they are nearing full maturity but still benefit from daily rinsing to stay fresh and hydrated.
- Leaves start to unfurl and grow a pale green
- You may notice a stronger earthy smell—this is normal
Keep the jar out of direct light, but in a well-ventilated area. Fresh airflow helps reduce moisture buildup.
Day 5: Green Up the Sprouts
To develop richer colour and nutrition, expose the jar to indirect light or a bright windowsill.
- Chlorophyll develops as the leaves turn bright green
- Continue rinsing and draining twice per day
The sprouts are now rich in flavour, vitamins, and enzymes. They are technically ready for harvest—but you can let them grow another day for more volume.
Day 6: Harvest Day
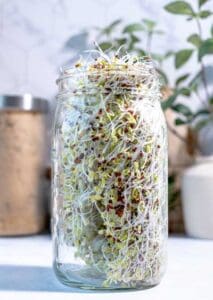
By day six, your jar should be full of long, leafy green alfalfa sprouts. They’re ready to eat!
To harvest:
- Give one final rinse
- Place sprouts in a large bowl of cool water and swirl to remove seed hulls
- Use a fine strainer or salad spinner to drain completely
Transfer to a clean container lined with a paper towel and store in the fridge. Sprouts stay fresh for 5–7 days if kept dry and sealed.
👉 For detailed storage tips, see How to Store Alfalfa Sprouts.
Sprouting Summary Table
| Day | What Happens | Your Tasks |
|---|---|---|
| Day 1 | Soak seeds | Soak 6–8 hrs, drain, rinse once |
| Day 2 | Seeds begin sprouting | Rinse and drain twice |
| Day 3 | Sprouts elongate | Continue rinsing and draining |
| Day 4 | Leaf development starts | Rinse, drain, keep jar ventilated |
| Day 5 | Sprouts green up | Expose to indirect light |
| Day 6 | Harvest | Rinse, remove hulls, store |
Tips for Success
- Don’t overfill your jar—sprouts need space to grow and breathe
- Always drain thoroughly to avoid sogginess and mold
- If sprouts smell sour or look slimy, discard and clean your jar
✔️ A clean setup and consistent routine make sprouting easy and fun. Alfalfa is one of the most forgiving seeds to sprout—perfect for beginners.
Ready to Get Started?
Now that you know the timeline, you’re ready to grow your own fresh sprouts. Just follow these daily steps, and you’ll be harvesting homegrown alfalfa in less than a week.
👉 Need help choosing seeds? Visit How to Choose the Best Alfalfa Seeds
👉 Looking for sprouting gear? See Essential Sprouting Equipment
